
first off we open up the material editor and then click compact editor
then clicked diffuse the bitmap and we chose your custom texture

This was a tutorial on Boolean

first off we start with any shape then we convert it to an editable poly

we then make a new shape that we want to take away from the other shape and covert it to editable poly

when you done that we select both and go on to the create tab and go to compound shapes and select Boolean then click subtract a from b and pick operation
this is the spline tool with the line tool
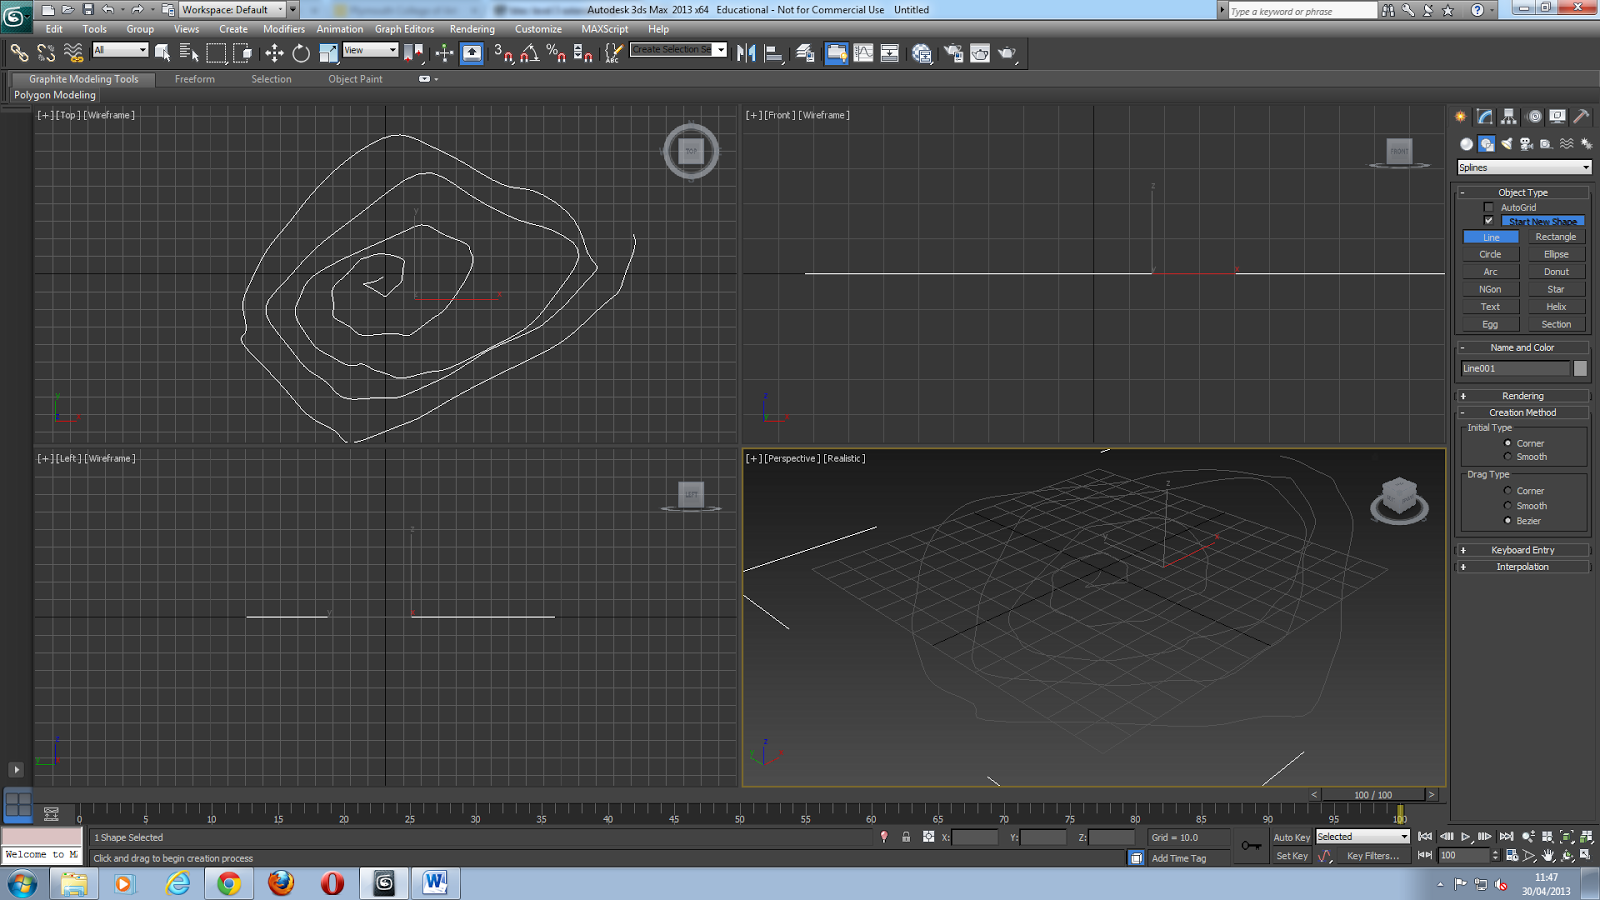
you simply draw a line and change the parameters

before you change the parameters you can change the shape of the nodes

this is what it looks like after wards

we had created the with the line tool to make a 1/4 of the glass and use a filter to transform it
this is on the bridge tool

we start by creating and shape and converting it to a editable poly

we then turned on the snap tool when we made the sphere so the top half has the same radius as the cylinder and rotated it so the segment matched and converted this to a editable poly

we then separated them so we can make them hollow 

then we select the boarders
on bot hollowed and half of the sphere the bridge

this is what it looks like after

I thought it was to long so I undone the last step and moved the sphere down the z axis

and bridged to get this
we had to attempt to recreate a image of a cage and a ball with a texture inside

to start off with we make a plane for the base and a cube for the cage

got an image for the background and imported it

once we applied the checker board to the plane below the cube we then used the lattice filter
to get this

I then experimented with the parameters to get the shape to look I little more interesting

then I put a filter on the ball and got this.

I then added a similar texture to the cage

i then repositions the camera angle so we can get a different render

we the added a spot light to add some lighting to the model

I then added a red plane to represent a carpet

I then changed it to a darker red to suit the image more

we had experimented on making edges thinner and wider by selecting segments
No comments:
Post a Comment